Serverless Backup & Notification Pipeline
Automated, encrypted PostgreSQL backups on AWS with Terraform, Ansible, and event-driven alerting.
Build walkthrough
A complete, reproducible guide to building this project from scratch - every command in order, with a screenshot slot after each meaningful step. Follow top to bottom to replicate the full pipeline.
0. Prerequisites
- AWS account with an admin/root identity available (needed once, to bootstrap a dedicated IAM user)
- Terraform, Ansible, AWS CLI, and GPG installed locally
- A Slack workspace where you can create an app
1. Design the IAM policies before any infrastructure exists
Write the trust policy and permissions policy for the EC2 role, and the trust/permissions policies for the Lambda role, as raw JSON under iam/. Validate syntax locally before anything is deployed:
for f in iam/*.json; do
  python3 -c "import json; json.load(open('$f'))" && echo "$f OK"
done
Screenshot: iam/ folder contents and validation output
2. Create a dedicated IAM user for Terraform
Using an existing admin identity:
aws iam create-user --user-name project3-terraform-deployer
aws iam create-access-key --user-name project3-terraform-deployer
aws iam attach-user-policy \
  --user-name project3-terraform-deployer \
  --policy-arn arn:aws:iam::aws:policy/PowerUserAccess
Configure a named CLI profile with the resulting keys:
aws configure --profile project3
Confirm:
aws sts get-caller-identity --profile project3
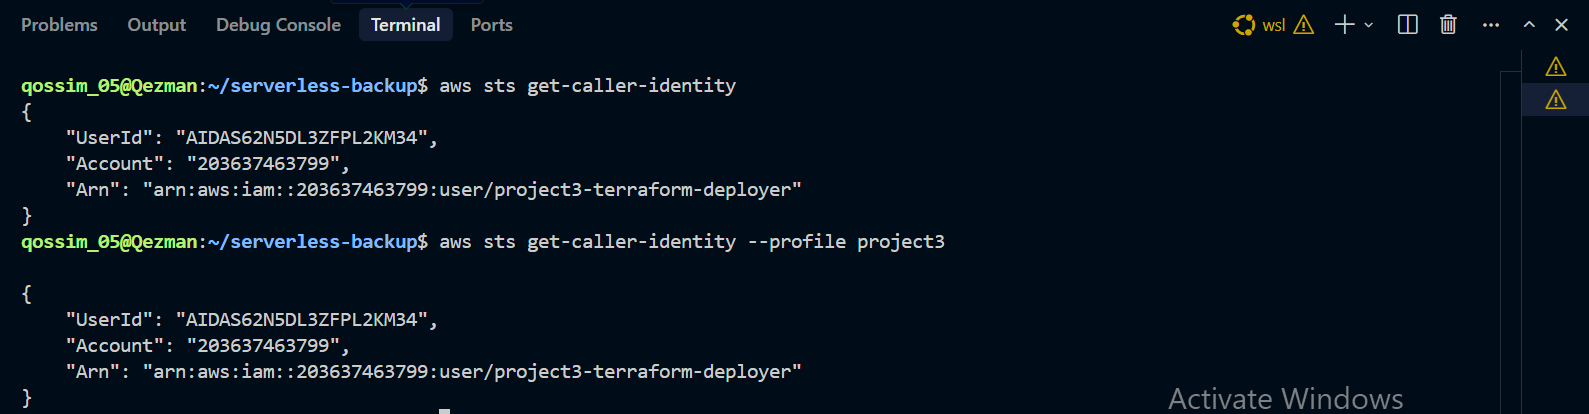
Note: PowerUserAccess deliberately excludes IAM management. This project also creates IAM roles via Terraform, so a scoped custom policy granting iam:CreateRole, iam:PutRolePolicy, iam:CreateInstanceProfile, etc. (scoped to project3-* resource names) must be attached the same way, using the admin identity.
3. Bootstrap Terraform state
With no backend configured yet (local state), apply just enough to create the state bucket and lock file support:
cd terraform
terraform init
terraform apply -var-file="secrets.tfvars"
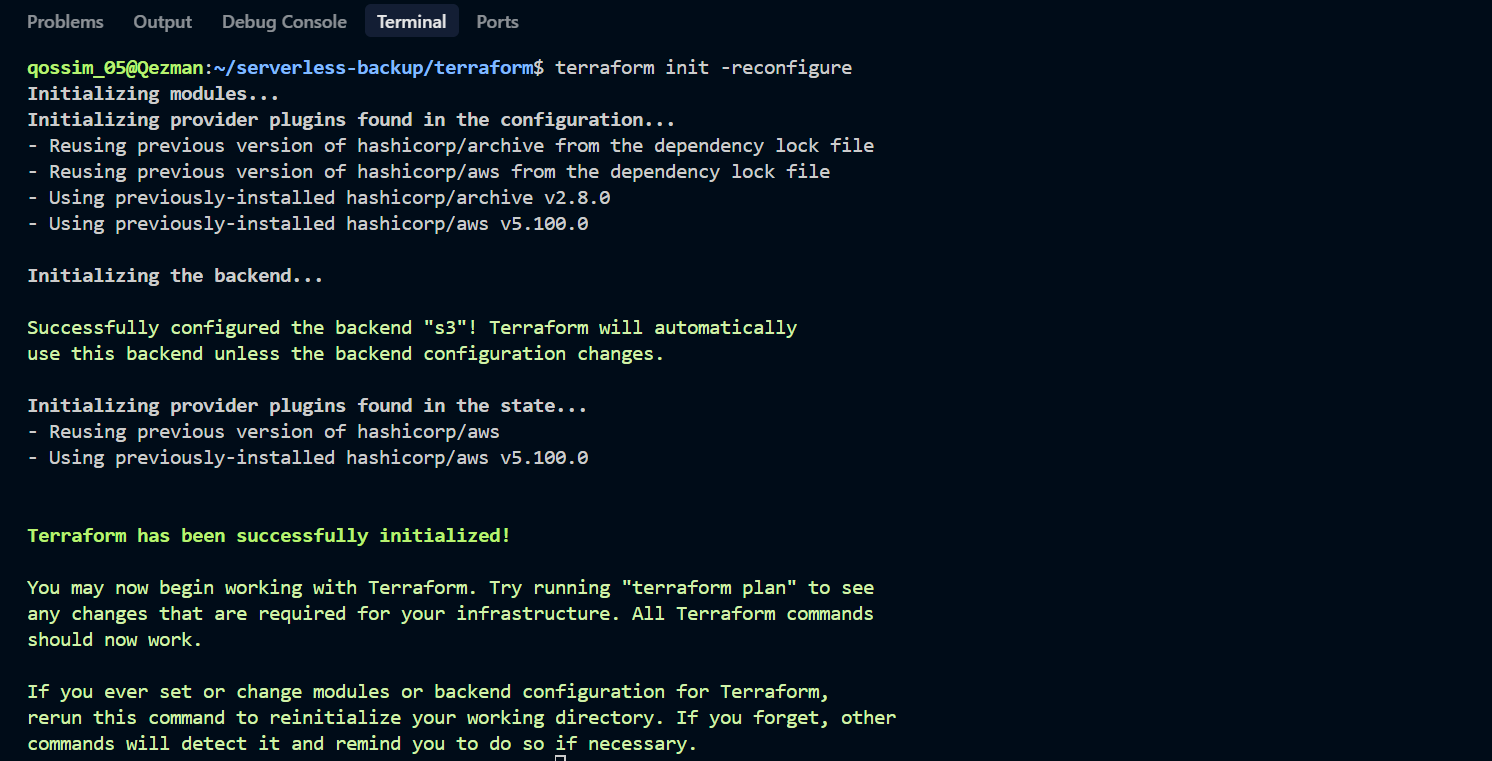
Once the state bucket exists, add the backend "s3" {} block to provider.tf and migrate:
terraform init -reconfigure
Confirm state now lives remotely and matches reality:
terraform plan -var-file="secrets.tfvars"
4. Apply networking, storage, notifications, and IAM modules
terraform apply -var-file="secrets.tfvars"
Screenshot: terraform apply output showing VPC, subnet, IGW, route table, security group, S3 buckets, SNS topic, and IAM role created
5. Set up Slack Incoming Webhooks
At api.slack.com/apps → Create New App → From scratch → name it, pick your workspace → Incoming Webhooks → toggle Activate → Add New Webhook to Workspace → authorize → copy the resulting URL.
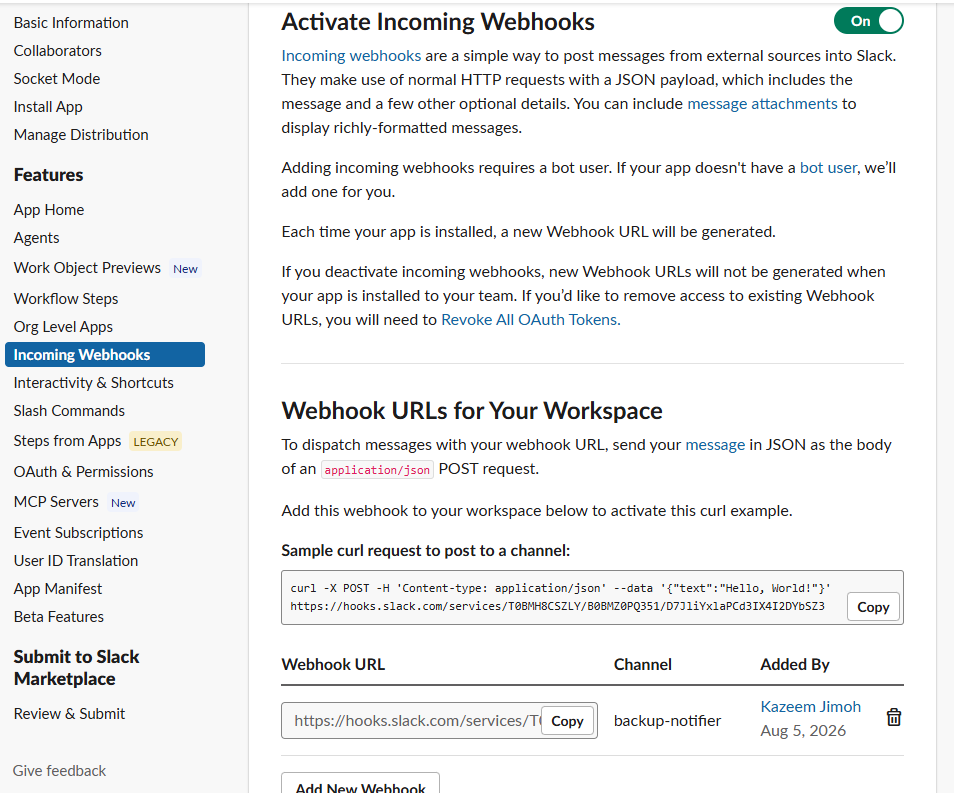
Add the URL to terraform/secrets.tfvars (gitignored, never committed):
slack_webhook_url = "https://hooks.slack.com/services/..."
Apply so the secret reaches Secrets Manager:
terraform apply -var-file="secrets.tfvars"
6. Confirm the SNS email subscription
Check your inbox for the AWS confirmation email and click Confirm subscription. Verify:
aws sns list-subscriptions-by-topic \
  --topic-arn <your-topic-arn> \
  --profile project3
Should show a real ARN, not PendingConfirmation.
Screenshot: SNS subscription confirmed, ARN populated
7. Apply the compute module (EC2 instance)
terraform apply -var-file="secrets.tfvars"
Get the instance’s public IP:
aws ec2 describe-instances \
  --filters "Name=tag:Name,Values=project3-vpc-backup-db" \
  --query "Reservations[0].Instances[0].PublicIpAddress" \
  --output text \
  --profile project3
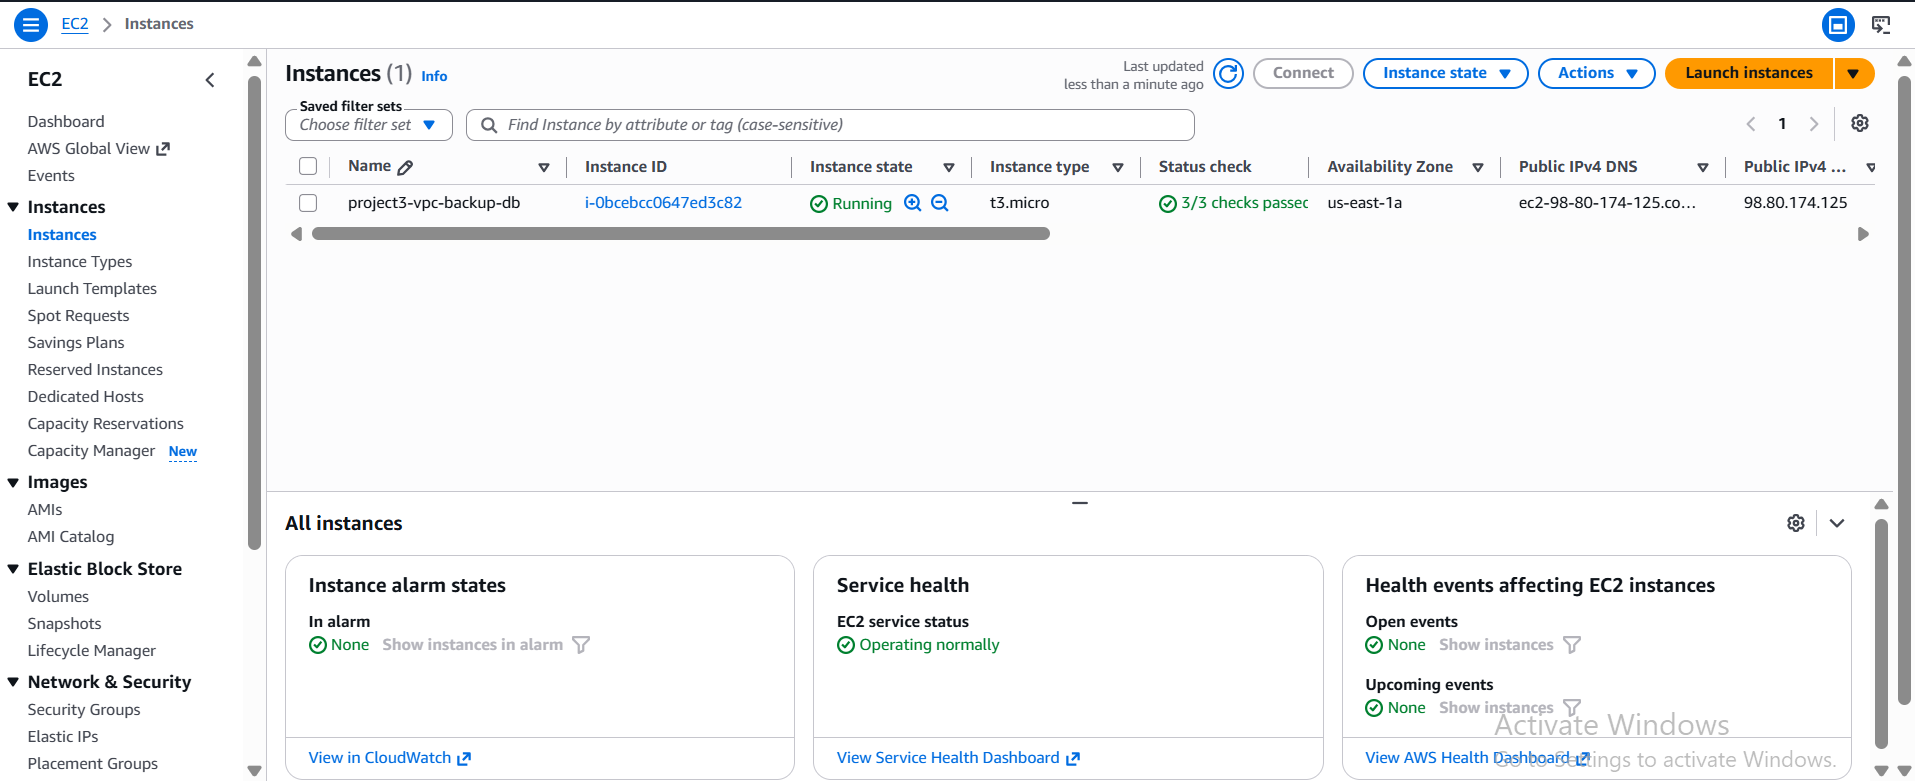
Screenshot: EC2 instance running in AWS console, IAM instance profile attached
8. Generate the GPG keypair and import the public key onto the instance
Locally:
gpg --full-generate-key
gpg --list-keys
gpg --export -a "your-email@example.com" > backup-public-key.asc
Copy the public key and connect via SSH:
scp -i ~/.ssh/project3-ec2-key backup-public-key.asc ubuntu@<PUBLIC_IP>:~/
ssh -i ~/.ssh/project3-ec2-key ubuntu@<PUBLIC_IP>
On the instance:
gpg --import backup-public-key.asc
gpg --list-keys

9a. Provision the instance with Ansible
Update ansible/inventory.ini with the current public IP, then from your local machine:
cd ansible
ansible backup_db -m ping
ansible-playbook playbook.yml
This installs PostgreSQL, creates the dummy database and scoped backup_user role, deploys backup.sh and its credentials file, and schedules cron.
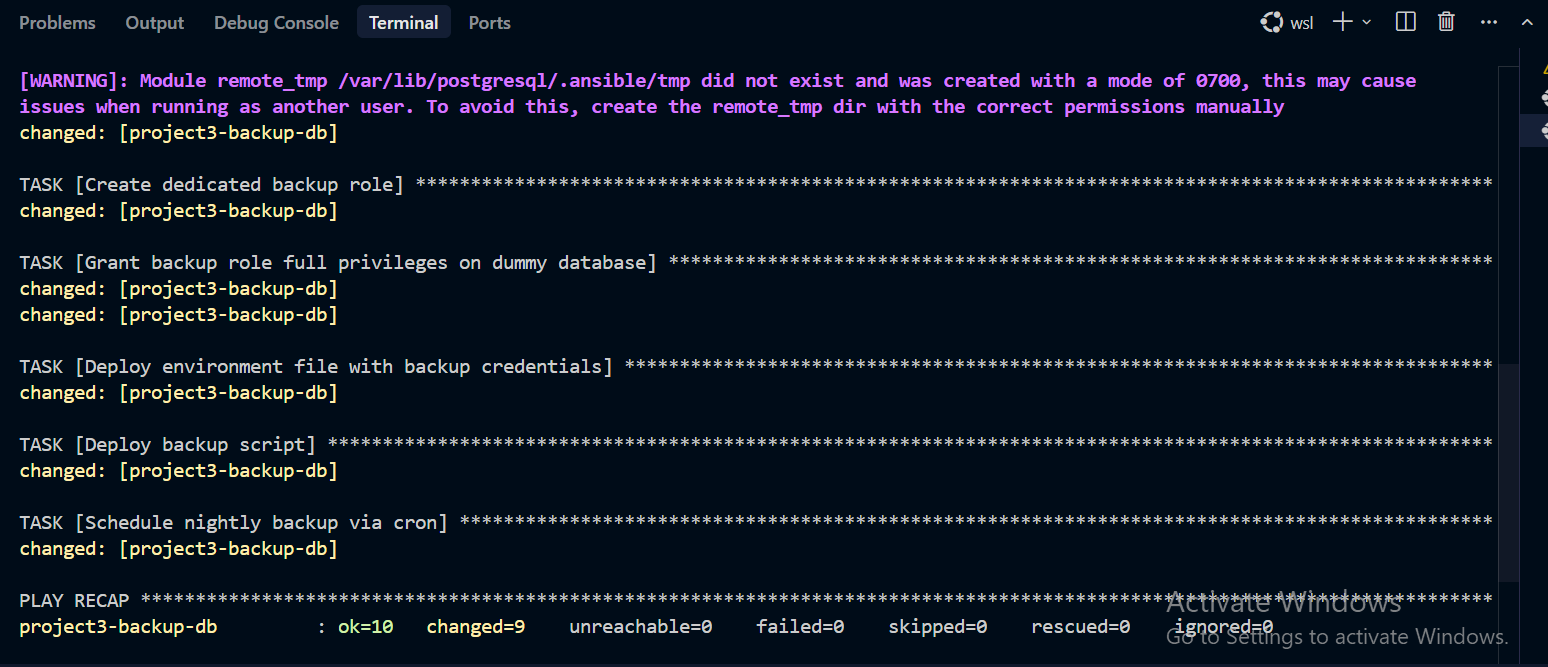
Screenshot: ansible-playbook run completing, all tasks ok/changed, failed=0
9b. Confirm AWS CLI and PostgreSQL client tools are present
The backup script needs both aws and pg_dump on the instance. If Ansible’s package installs didn’t cover them (or if testing on a fresh instance), install manually:
sudo apt update
sudo apt install -y awscli postgresql-client-16
Confirm both are available:
which aws
which pg_dump

Note: ideally this belongs in the Ansible playbook itself (as an explicit apt task), not a manual step — if you’re rebuilding this project, add awscli and postgresql-client-16 to the playbook’s package list so this step becomes unnecessary. It’s documented here as a manual fallback because that’s how it was actually discovered during the original build.
10. Manually test the backup script
On the instance:
export DB_BACKUP_PASSWORD="<your password>"
./backup.sh
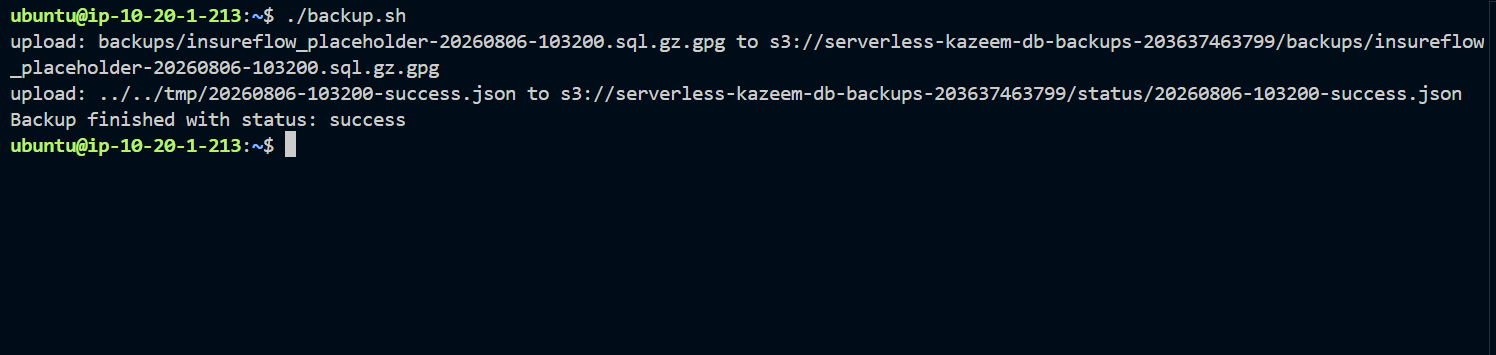
Confirm the files actually landed in S3:
aws s3 ls s3://<your-backups-bucket>/backups/
aws s3 ls s3://<your-backups-bucket>/status/
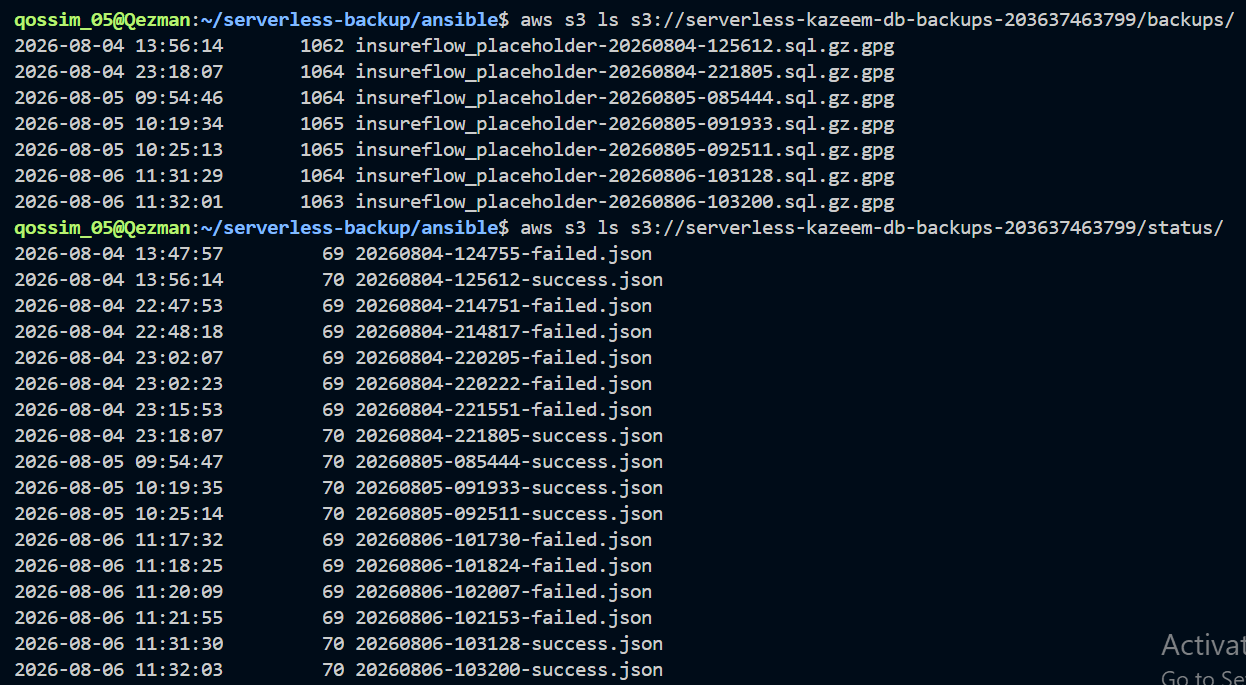
11. Apply the Lambda module and wire the S3 trigger
cd terraform
terraform apply -var-file="secrets.tfvars"
This deploys the notifier function, grants S3 invoke permission, and attaches the bucket notification rule.
12. End-to-end test
Trigger one more backup run on the instance, then check every downstream effect from that single run:
export DB_BACKUP_PASSWORD="<your password>"
./backup.sh
Lambda logs:
aws logs tail /aws/lambda/backup-notifier --profile project3 --since 5m

Screenshot: Slack message received in channel
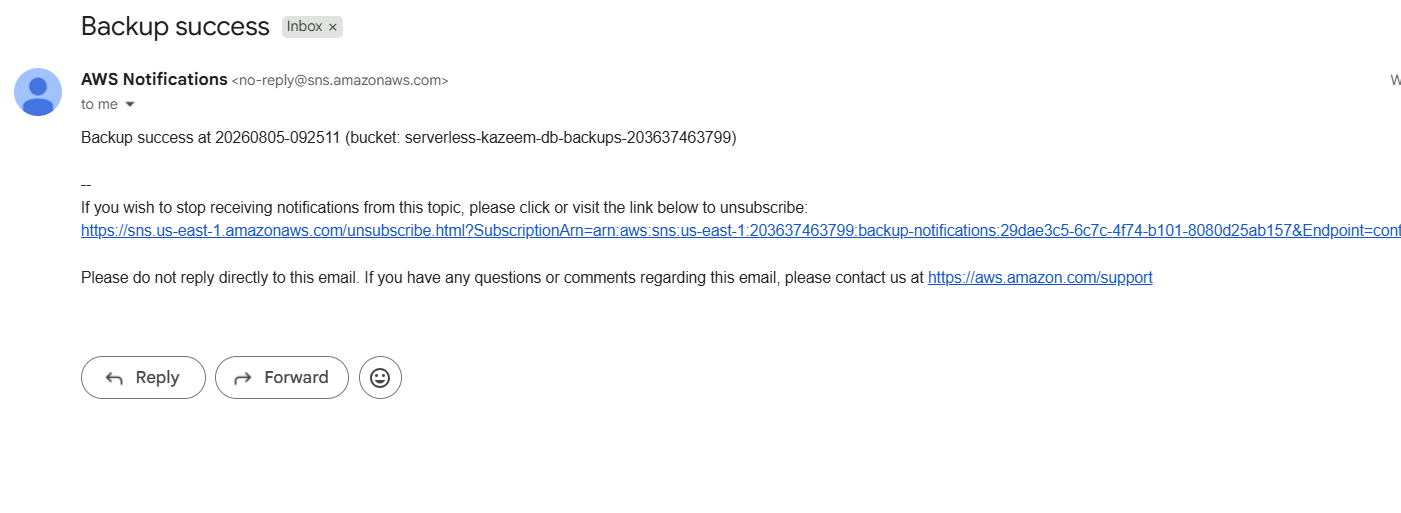
Screenshot:
13. Confirm the cron schedule is live
ssh -i ~/.ssh/project3-ec2-key ubuntu@<PUBLIC_IP> "crontab -l"

Screenshot:
At this point the pipeline runs unattended - no further manual triggers needed. The next morning, aws s3 ls .../backups/ and .../status/ should show a fresh object with no one having touched the instance.
14. Teardown (optional)
To avoid ongoing cost when the project isn’t actively being demonstrated:
cd terraform
terraform destroy -var-file="secrets.tfvars"
Note: this deletes the S3 buckets and their contents (force_destroy not set - Terraform will refuse to destroy non-empty buckets unless you empty them first with aws s3 rm s3://<bucket> --recursive), the EC2 instance, and every other resource. State itself lives in the state bucket, which will also be destroyed - keep a local backup of terraform.tfstate if you intend to rebuild later without starting over.
Lessons from debugging
- Templated IAM policies need actual placeholders. A
.tplfile with a hardcoded value instead of${variable_name}will silently apply the wrong permissions - Terraform won’t catch this, since it’s valid JSON either way. Always verify the live policy in AWS (aws iam get-role-policy), not just the source file. - EC2 public IPs change on replacement. Without an Elastic IP, every instance replacement invalidates any hardcoded IP in SSH commands or Ansible inventory - always re-fetch the current IP rather than assuming.
- S3 bucket policies can silently override IAM. An explicit
Denyin a bucket policy (e.g. requiring server-side encryption headers) blocks uploads even when IAM grantsPutObject- the two layers are independent and both must agree. terraform importmatters more than it seems. When infrastructure already exists in AWS but isn’t in Terraform’s state, importing (rather than lettingapplytry to recreate) avoidsBucketAlreadyOwnedByYou-style conflicts and preserves existing resources.- Account/region migrations touch more than variables. Moving a project to a new AWS account meant recreating the state backend, the IAM user and its permissions, the SSH key pair registration, and re-provisioning via Ansible - not just updating
.tfvars.